Introduction
Since 1982, BlastKing has built surface preparation systems for customers worldwide. Today, we design complete blast room solutions that help teams control dust, recover abrasive, and achieve consistent surface profiles for coating and painting. In this guide, you will learn how a blast room works, how to choose the right blast room size, and how to maintain the system so it runs reliably.
Across global markets, buyers also use the terms sand blast room, blast booth, and abrasive blasting room. In practice, these names often point to the same solution: an enclosed space for abrasive blasting with ventilation, dust collection, and (in many cases) abrasive recovery.
Why a Blast Room Beats Outdoor Blasting
Outdoor blasting can look cheaper at the start. However, the real cost often shows up later in lost abrasive, unstable results, and cleanup time. Weather adds risk too, because wind pushes dust into nearby areas and humidity affects schedule planning. As a result, outdoor blasting makes output harder to predict.
With a blast room, you gain control of the process instead of fighting conditions. For that reason, many shops use a blast room to improve productivity and keep the site cleaner.
A blast room gives you:
-
Containment, so dust and abrasive stay inside a controlled area
-
Consistency, so you blast with stable conditions across shifts
-
Lower media cost, because recovery and cleaning support reuse
-
Better safety, because you separate blasting hazards from other work
-
Stronger finish quality, because stable visibility supports repeatable results
Confused About Blast Rooms? Let’s Clear the Dust.
How a Blast Room Works (Step-by-Step System Flow)
A blast room runs as a loop, and each step supports the next. First, operators blast inside the enclosure. Next, ventilation guides dusty air toward filtration. After that, the recovery system collects abrasive and moves it to cleaning. Finally, the system returns reusable media to blasting.
To make the process easier to apply, the steps below explain what happens and why it matters.
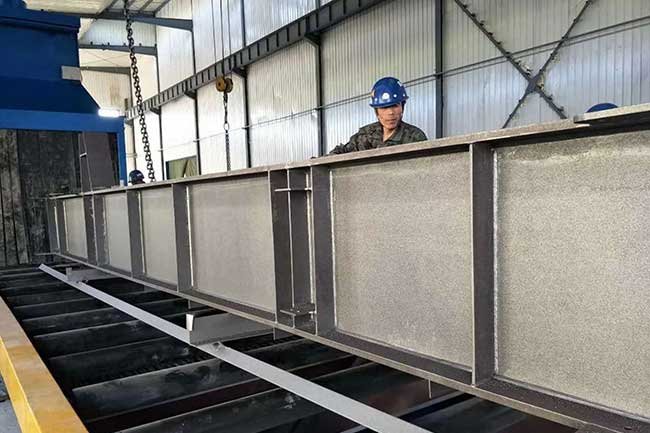
Step 1: Blasting happens inside the blast room enclosure
Inside the room, operators use blast pots, hoses, and nozzles to propel abrasive at the surface. When you add multiple blast outlets, you can run more than one operator at a time. Therefore, you increase throughput without expanding the building footprint.
Step 2: Ventilation controls airflow and visibility
Rather than letting dust float randomly, the room uses planned airflow to move dust in a controlled direction. In addition, stable airflow helps protect visibility during blasting and speeds up clearing after the job ends. Because of that, operators spend less time waiting for the room to “settle.”
Step 3: The dust collector captures dust and fine particles
At the exhaust side, the dust collector filters the air before it leaves the system. Meanwhile, a stable pressure profile keeps airflow more consistent through the work zone. As a result, you get better visibility and cleaner operations.


Step 4: Abrasive recovery moves spent media out of the work zone
Once abrasive drops to the floor, the recovery system collects it and transports it to a central point. Depending on your layout, you may choose pneumatic transport, screw conveyors, scraper conveyors, belts, or sweep-in hoppers. In contrast to manual sweeping, automated recovery keeps the process moving with less labor.
Step 5: Abrasive cleaning prepares media for reuse
After transport, the cleaning unit removes dust, fines, paint flakes, and debris. Without this step, dirty media creates more dust and reduces cutting power. Therefore, strong media cleaning improves finish quality and helps control operating cost.
Step 6: Clean abrasive returns and the loop repeats
From storage, clean abrasive returns to the blast pot and blasting resumes. Over time, reuse reduces abrasive purchasing and waste handling. In short, the loop turns blasting from a messy job into a controlled process.
Related Surface Preparation Systems
A blast room is ideal for enclosed, high-quality blasting of medium-to-large parts. However, some applications are faster, cleaner, or more cost-effective with a different system. Choosing the right process reduces cost per part and improves consistency.
Best for small components, fasteners, tools, and precision parts. Blast cabinets use a compact enclosure, require minimal space, and allow quick part changes at a fixed workstation.
For high-volume, repeatable parts, wheelblast shot blasting machines deliver higher productivity with lower labor input. In many factories, shot blasters handle repeat production while blast rooms cover oversized or special jobs.
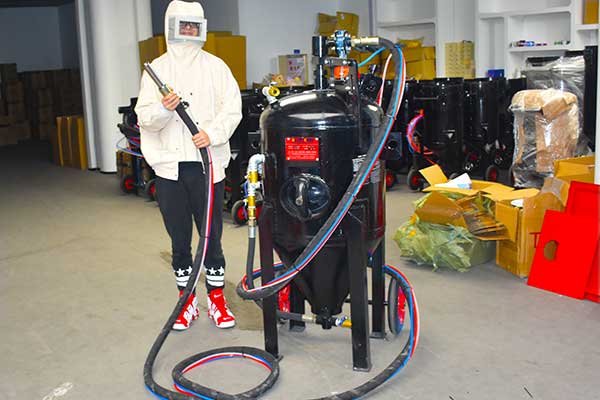
For oversized workpieces that cannot be moved, free-type sand blasters provide flexibility. They are commonly used for large steel structures, plates, and on-site blasting tasks.
Blast Room System Components (What You Need for Performance)
High output depends on system balance. Instead of overbuilding one part and underbuilding another, you should align the enclosure, recovery, cleaning, and dust control to your daily workload.
1) Blast room enclosure (structure, lining, doors, seals)
The enclosure defines the work zone and absorbs rebound energy. For that reason, durability and wear protection matter. In addition, door size and placement should match your handling path, not only the part size. Good lighting also boosts productivity because operators can see the surface clearly.
Key enclosure choices include:
-
wear protection in impact zones
-
door type and opening size for forklifts or cranes
-
seals that reduce dust leakage
-
floor design (solid floor, grating, or recovery floor)
-
lighting placement and protection
2) Abrasive recovery system (your labor and cost driver)
Recovery often decides whether the blast room feels smooth or slow. If recovery falls behind, operators spend time sweeping and abrasive piles up. As a result, productivity drops.
Common recovery options:
-
Sweep-in hopper (simple, low initial cost, more labor)
-
Screw conveyor recovery (steady flow for daily work)
-
Scraper conveyor recovery (strong for heavy media and high load)
-
Belt conveyor recovery (useful for certain layouts)
-
Pneumatic recovery (flexible routing and conveying distance)


3) Abrasive recycling and cleaning unit (finish stability)
Media cleaning stabilizes cutting performance. On the other hand, high fines content increases dust and reduces efficiency. Because of that, the cleaning unit directly affects both results and cost.
4) Dust collector and ventilation (visibility and compliance)
Dust control determines whether operators can work continuously. Therefore, you should size the dust collector based on room volume, dust load, and duty cycle. At the same time, airflow direction should move dust away from the operator and toward the exhaust.
5) Blast equipment and operator protection (performance and safety)
Blast pots, hoses, and nozzles control blasting power. Meanwhile, nozzle wear changes results, so routine inspection matters. In addition, PPE and breathing air setups protect operators and support local requirements.
Want to Confirm the Right Blast Room Size?
Simply provide your largest part dimensions (L × W × H) and your handling method—forklift, crane, or rail cart.
With this information, we can define the optimal blast room layout and door opening, ensuring safe handling and efficient operation.
Call us today at +86 135 8931 7685
How to Choose Blast Room Size (A Practical Technical Method)
Room size drives cost and performance. Instead of sizing only by the part’s outer dimensions, size by parts + people + path.
Step 1: Define the largest workpiece and handling method
Start with maximum workpiece size (L × W × H) and max weight. Next, confirm how you move parts: forklift, crane, rail cart, or monorail. Because handling paths create real constraints, door placement and internal travel lanes often drive the layout.
Step 2: Add clearance for operators, hoses, and nozzle angle
Safe access requires clearance for operator movement and hose swing. For example, many projects add working clearance on the sides where operators blast and add extra space for two-operator lanes. As a result, operators work faster and reposition parts less often.
Step 3: Decide how many operators will blast at once
Before finalizing width and airflow, define how many operators work at the same time. More operators increase dust load and airflow demand. Therefore, “operators at once” impacts both ventilation and dust collector selection.
Step 4: Match recovery floor coverage to throughput
Full floor recovery reduces sweeping and supports higher throughput. In contrast, partial recovery lowers initial cost but requires daily sweeping. Because of that trade-off, you should choose coverage based on labor cost and duty cycle.
Step 5: Validate the layout with a part-path sketch
Finally, draw the part path: entry → staging → blasting position → exit. Include forklift turns and crane hook movement. This quick sketch prevents bottlenecks and avoids door or lane conflicts later.
What Exactly Is a Blast Room—and Why Should You Care?
Blast Room Specification Table
Blast Room Specification Summary (Fill-In Template)
| Item | Your Requirement | Notes |
|---|---|---|
| Application | Surface prep / coating prep / deburring / peening / decorative | Choose primary use case |
| Workpiece max size (L×W×H) | Include largest part | |
| Workpiece max weight | Impacts floor and handling | |
| Throughput | parts/day or blasting hours/day | Drives recovery and dust load |
| Operators at once | 1 / 2 / 3 / 4 | Impacts airflow and layout |
| Abrasive type | steel shot / steel grit / garnet / aluminum oxide / glass bead | Affects recovery and cleaning |
| Surface standard | Sa 2.5 / SSPC / roughness target | Helps define process |
| Handling method | forklift / crane / rail cart / monorail | Impacts door and layout |
| Door opening required (W×H) | Include crane hook clearance if needed | |
| Recovery type | sweep-in / screw / scraper / belt / pneumatic | Choose based on throughput |
| Recovery coverage | 100% / 50% / 25% | Labor vs initial cost |
| Dust collector | cartridge / bag / other | Size by airflow + dust load |
| Power supply | voltage / Hz | Site requirement |
| Compressed air | pressure + available flow | Required for blast pot/nozzles |
| Optional features | turntable / rails / manlift / touch screen / automation | Only add what you will use |


Blast Room Recovery Systems (How to Choose the Right One)
Recovery selection decides labor and uptime. Therefore, match the recovery method to abrasive type, throughput, and layout constraints.
Sweep-in hopper recovery (low volume)
Sweep-in recovery keeps the system simple. However, operators must sweep abrasive into the hopper, so it fits light duty and occasional blasting.
Screw conveyor recovery (steady and common)
Screw conveyors move abrasive in a continuous flow. For that reason, they often suit steady daily work and support consistent recovery speed.
Scraper conveyor recovery (heavy duty)
Scraper systems handle heavy load and heavy media well. As a result, they often fit structural steel and heavy fabrication operations.
Pneumatic recovery (flexible layout)
Pneumatic recovery moves abrasive using airflow and supports flexible routing. On the other hand, abrasive type and dust load must match the design to keep performance stable.
Low-profile recovery (space constraints)
When pit depth is limited, low-profile systems help. In addition, some designs reduce buildup. Still, plan inspection access because every recovery system needs service.
The 5 Must-Have Features Your Blast Room Can’t Live Without
Dust Collector and Ventilation for a Blast Room (Sizing Logic)
A dust collector controls visibility, cleanliness, and emissions. Because of that, sizing should reflect real operating conditions:
-
room volume and airflow path
-
number of operators and nozzles
-
abrasive type and blasting intensity
-
coating removal (rust, paint, scale)
-
duct routing and pressure loss
-
filter cleaning performance and access for service
At the same time, plan airflow direction intentionally. When air moves from cleaner zones toward dusty zones and then to exhaust, visibility improves and clearing time drops.
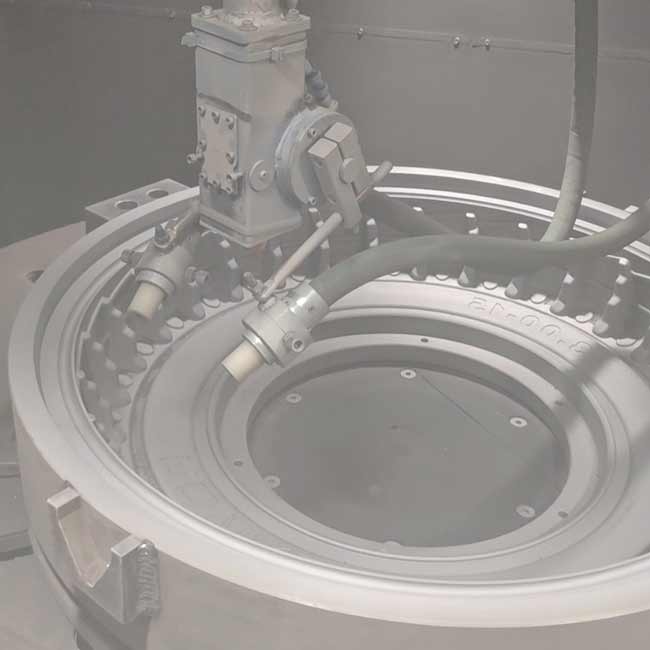
Cleaning, descaling, and surface preparation of large or complex parts suspended for full, uniform blasting coverage
Cleaning, deburring, and surface preparation of small to medium parts requiring uniform, all-around blasting coverage.

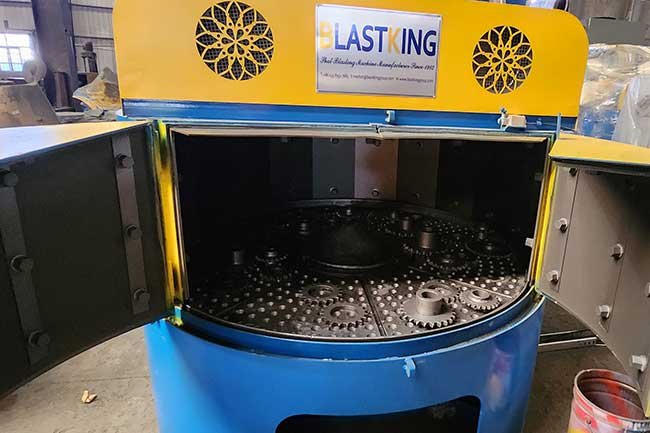
Cleaning, deburring, and surface preparation of bulk small parts by tumbling them for complete blasting coverage
Blast Room Maintenance Guide (Daily, Weekly, Monthly)
Maintenance protects performance and reduces downtime. Instead of guessing, follow a schedule.
Daily blast room maintenance
At shift start and end, do these checks:
-
empty dust bin or hopper as needed
-
review filter pulsing and pressure trend
-
inspect hoses, couplings, and nozzle wear
-
remove oversized debris that can jam recovery
-
confirm door seals and interlocks work
-
verify lighting and visibility
Weekly maintenance
Once per week, inspect moving and wear components:
-
check recovery floor for buildup or blockage
-
inspect conveyors for noise, alignment, and tension
-
inspect wear liners and impact zones
-
check grounding and static control points
-
inspect screens or separation zones in the cleaner (if applicable)
Monthly maintenance
Each month, complete deeper system checks:
-
inspect filters and replace as needed
-
check fan, motor, bearings, and drive components
-
verify airflow at key points and adjust if required
-
review abrasive quality (fines and contamination)
-
audit safety devices (E-stop, interlocks, signage, PPE condition)
Tracking tip:
To spot problems early, track visibility, abrasive consumption, and filter pressure weekly. If one trend moves the wrong way, investigate immediately.
Not Sure Which Recovery System Fits Your Workflow?
First, tell us your abrasive type (steel shot, steel grit, garnet, aluminum oxide, etc.) and your daily blasting hours.
Then, we’ll recommend the most suitable recovery system, clearly explained and customized to your actual production needs.
Call us today at +86 135 8931 7685
Troubleshooting a Blast Room (Common Symptoms and First Checks)
Poor visibility during blasting
First, check filter pressure and pulsing. Next, inspect ducts for leaks or blockages. Then review abrasive fines level and cleaner settings. Finally, confirm airflow direction and make-up air balance.
Abrasive consumption feels too high
Start with door seals and leakage points. After that, review recovery coverage and sweeping routines. Also check carry-out from parts and staging zones. In addition, confirm abrasive breakage and contamination.
Recovery jams or recovery speed drops
Look for oversized debris and foreign objects. Then check conveyor alignment and tension. Next, inspect pit cleanliness and cleanout access. Finally, confirm moisture and sticky contamination.
Finish quality varies
Check nozzle wear and stable pressure. Then confirm abrasive type and size consistency. Next, verify cleaner performance. Finally, standardize operator distance and blasting angle.
Need a Maintenance Plan That Truly Matches Your Blast Room?
To start, share your abrasive recovery type and dust collector model or airflow (a nameplate photo works perfectly).
Based on that, we’ll create a practical daily, weekly, and monthly maintenance checklist tailored specifically to your blast room—not a generic template.
Call us today at +86 135 8931 7685
Safety for a Blast Room (Global-Friendly Guidance)
A blast room concentrates energy, dust, and moving parts in one area. Therefore, design safety into the system and enforce stable procedures.
Common safety practices include:
-
door interlocks and emergency stop systems
-
clear walkways and anti-slip surfaces
-
strong lighting and visible markings
-
correct ventilation and dust collection
-
correct PPE and breathing air setup (as required locally)
-
operator training and routine checks
Also, avoid silica sand due to serious health risks. Instead, choose safer media such as steel shot, steel grit, garnet, aluminum oxide, or glass beads.
Industries That Use a Blast Room
BlastKing blast rooms support structural steel, fabrication, marine, mining, oil and gas, rail, heavy equipment, and refurbishment work. In practice, if your parts do not fit a cabinet, a sand blast room or blast booth often gives the best balance of containment and productivity.
Fast Quote Checklist
To propose the right system, share:
-
max workpiece size and weight
-
throughput (parts/day or blasting hours/day)
-
abrasive type and reuse plan
-
surface standard and roughness target
-
power supply and compressed air details
-
handling method and shop layout limits
-
door opening needs and workflow route
Send the checklist to BlastKing. We will reply with a recommended blast room size, recovery type, dust control configuration, and quotation.
We deliver results
Our Happy Clients!

Blast Room
Blast Room

Blast Booth
Blast Booth

Blast Rooms
Blast Rooms
Blast Booth
Blast Booth

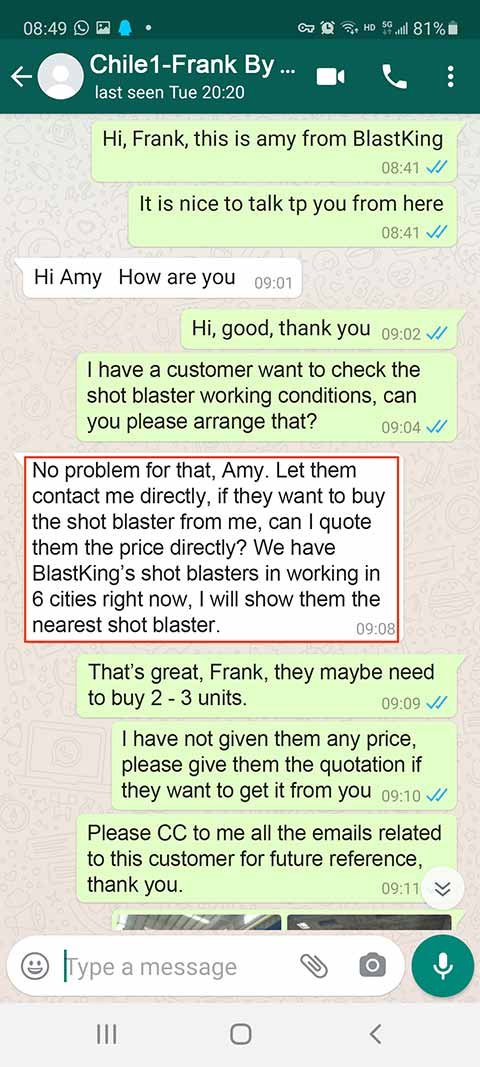
Hanger Type Blaster
Customer from Chile
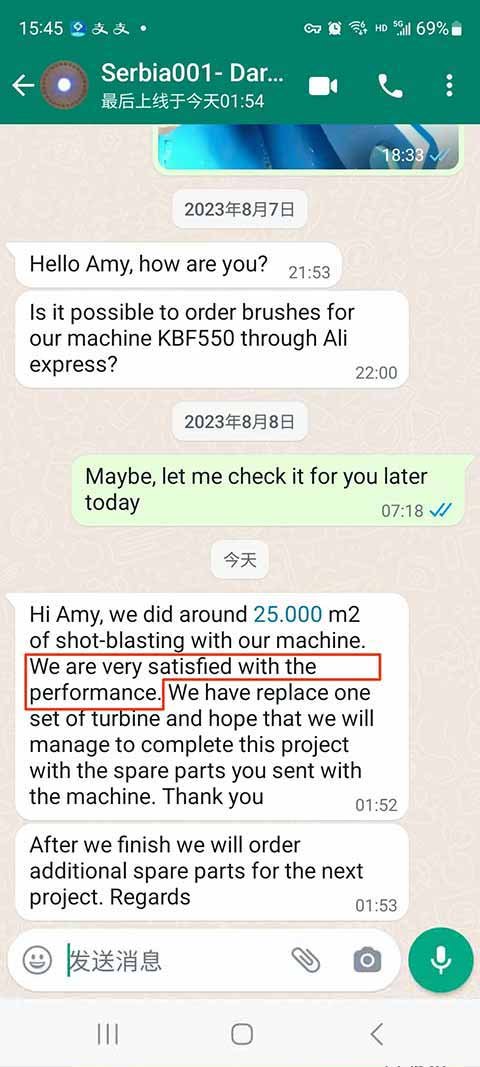
Shot Blasters
Cusotmer from Serbia
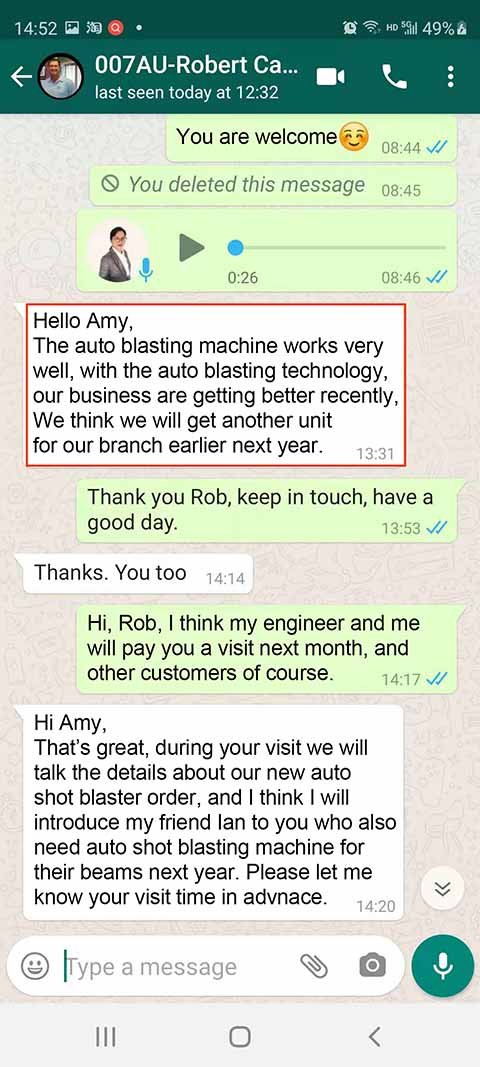
Blaster for Beams
Customer from Australia
Concrete shot blaster
Customer from Chile

Blaster for Metal Sheet
Customer from Australia

Flat bed Blaster
Customer from Egypt
Tumble blaster
Customer from UK
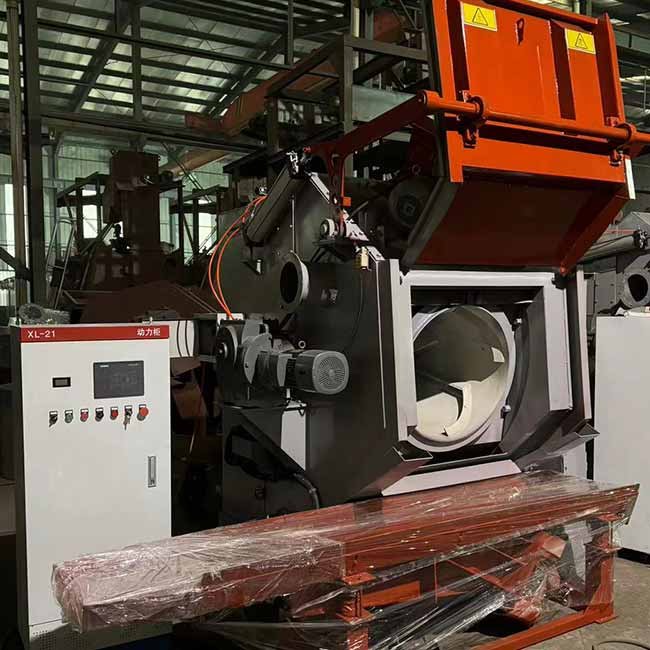
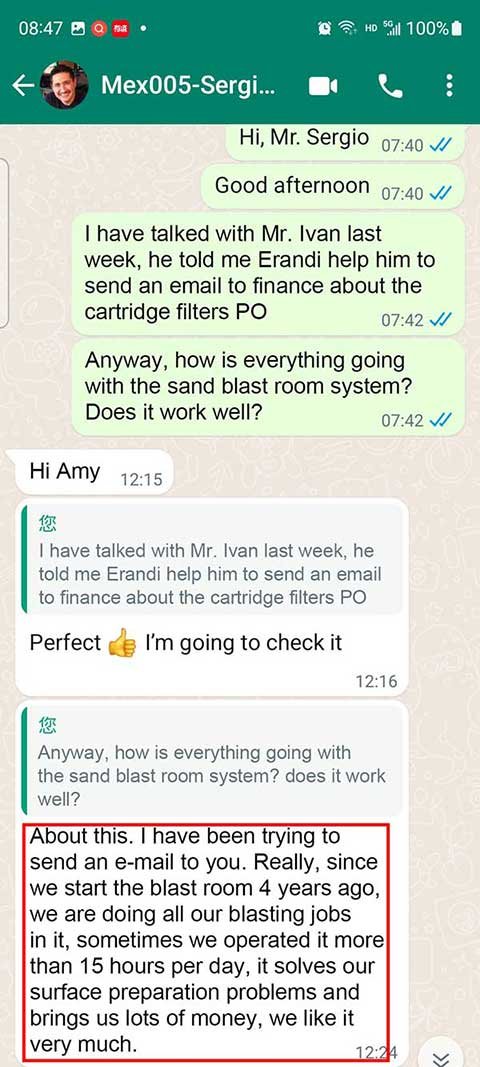
Pipe Interior Blaster
Customer from Mexico

Auto Blasting Line
Customer from Brazil
Flat bed Blaster
Customer from Egypt
Tumble blaster
Customer from UK
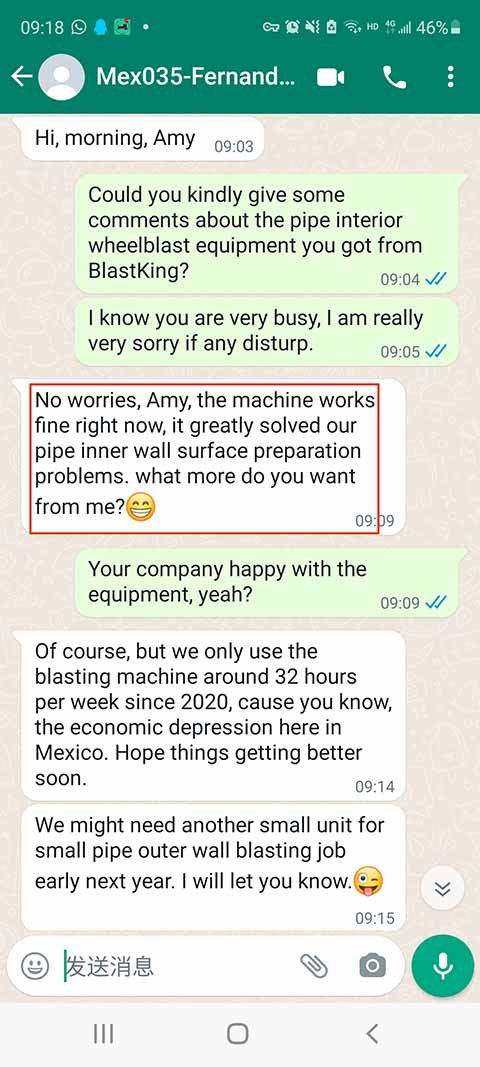
Pipe Interior Blaster
Customer from Mexico

Screw Roll Blaster
Customer from Bulgaria
Flat bed Blaster
Customer from Egypt
Tumble blaster
Customer from UK
Pipe Interior Blaster
Customer from Mexico
Screw Roll Blaster
Customer from Bulgaria
Hanger Type Blaster
Customer from Chile
Shot Blasters
Cusotmer from Serbia
Blaster for Beams
Customer from Australia
Concrete shot blaster
Customer from Chile
Blaster for Metal Sheet
Customer from Australia
Flat bed Blaster
Customer from Egypt
Tumble blaster
Customer from UK
Pipe Interior Blaster
Customer from Mexico
Screw Roll Blaster
Customer from Bulgaria
Auto blasting line
Customer from Bulgaria
Flat bed Blaster
Customer from Egypt
Tumble blaster
Customer from UK
Pipe Interior Blaster
Customer from Mexico
Screw Roll Blaster
Customer from Bulgaria
Hanger Type Blaster
Customer from Chile
Shot Blasters
Cusotmer from Serbia
Blaster for Beams
Customer from Australia
Concrete shot blaster
Customer from Chile
Blaster for Metal Sheet
Customer from Australia
Flat bed Blaster
Customer from Egypt
Tumble blaster
Customer from UK
Pipe Interior Blaster
Customer from Mexico
Screw Roll Blaster
Customer from Bulgaria
Auto blasting line
Customer from Bulgaria